
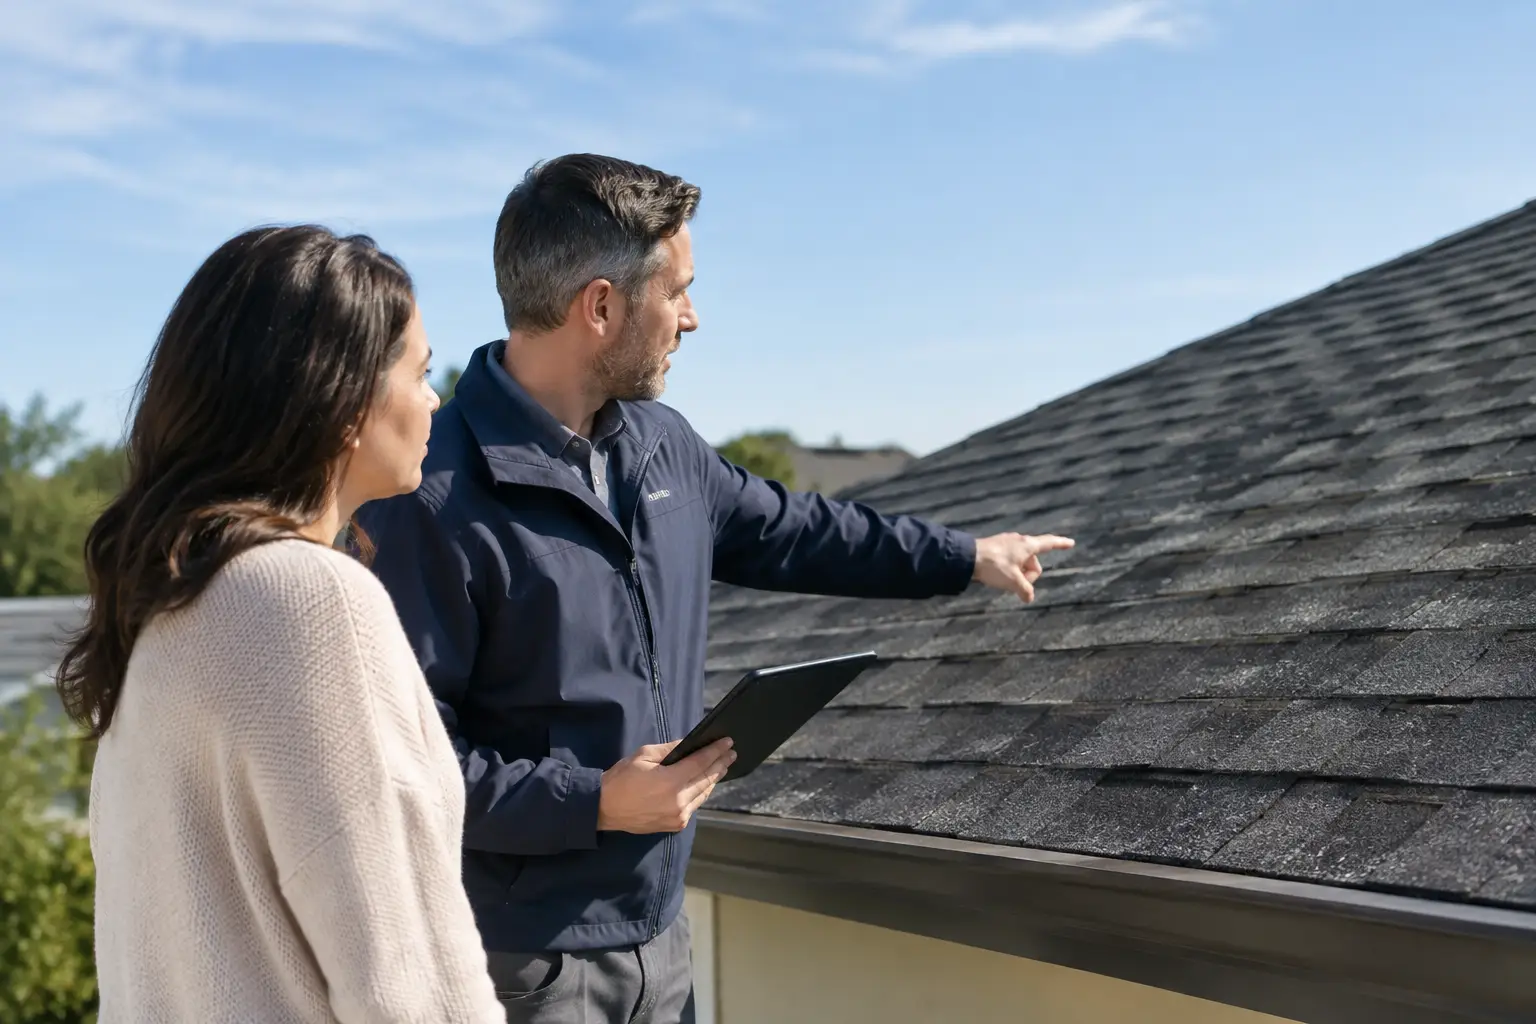
A roof adjuster visit can shape what happens next with your storm damage claim. The best way to prepare for a roof insurance adjuster is not to guess at the damage or rush into repairs. It is to document what you can safely see, gather the right records, and have a qualified local roofer identify storm-related damage before the inspection.
In North Texas, hail and high winds can damage shingles, flashing, vents, gutters, and roof decking without leaving an obvious leak right away. A prepared property owner gives the adjuster a clear view of the condition of the property and helps keep the conversation focused on facts.
Start With a Professional Roof Inspection
Before the adjuster arrives, schedule a thorough roof inspection with an experienced roofing contractor. This is especially useful after hail, straight-line winds, or a severe thunderstorm, even if the roof appears normal from the ground.
A professional inspection can identify hail bruising, missing or creased shingles, lifted flashing, damaged pipe boots, compromised vents, and granule loss. It can also separate storm-related issues from normal aging, installation concerns, or prior damage. That distinction matters because insurance policies generally address sudden covered losses, not ordinary wear and tear.
Ask for clear documentation of the findings. Photos should show wide views of the roof and close-ups of specific damage. If gutters, screens, siding, fencing, or outdoor equipment show hail impacts, document those areas as well. They may help establish the severity and direction of a storm.
Never climb onto a damaged roof just to collect evidence. Wet shingles, steep slopes, and loose materials create a real safety risk. Ground-level photos are useful, but the roof assessment should be handled by trained professionals with the right equipment.
How to Prepare for a Roof Insurance Adjuster Visit
Set aside one folder, whether digital or paper, for every item connected to the loss. Organization makes the appointment less stressful and gives you something reliable to reference if questions come up later.
Your file should include the date and approximate time of the storm, photos and videos taken shortly afterward, a copy of your insurance policy or declarations page, and your claim number. Add records of prior roof repairs, maintenance, warranties, receipts, and any earlier inspection reports you have available. You do not need a perfect history of every repair, but honest, relevant records help establish the roof's condition before the storm.
If water entered the home or building, photograph stains, wet insulation, damaged ceilings, flooring, and personal property before cleanup when possible. Take reasonable steps to prevent further damage, such as placing containers under drips or using a temporary tarp installed by a qualified contractor. Keep receipts for emergency mitigation work. Most policies require property owners to protect the property from additional damage after a loss.
Write down a short timeline before the meeting. Note when the storm occurred, when you first noticed damage, when you contacted your carrier, and what temporary actions were taken. A simple timeline helps you answer questions directly without trying to remember details under pressure.
Be Present, but Let the Evidence Lead
Whenever possible, be present for the adjuster's inspection. You can point out leaks, interior staining, detached gutters, or other areas of concern. If you own a commercial property, make sure the person attending understands the building's history and can provide access to roof hatches, mechanical areas, tenant spaces, and maintenance records if requested.
Your roofing contractor can also attend the appointment at your request. This is not about arguing with the adjuster. It is about making sure the inspection includes the roof areas and damage indicators identified during the contractor's assessment. An experienced contractor understands roofing systems and can answer practical questions about materials, installation requirements, and the scope needed to return the property to its pre-loss condition.
Be factual and specific. Say what you observed, when you observed it, and where it occurred. Avoid guessing about the cause of a problem if you are unsure. For example, it is more helpful to say, “This ceiling stain appeared after the April hailstorm,” than to insist that a particular roof component failed without documentation.
Know What the Adjuster Is Looking For
An insurance adjuster evaluates the reported damage, policy coverage, deductible, and estimated cost of covered repairs. The adjuster may inspect shingles, ridge caps, valleys, flashing, vents, gutters, skylights, siding, and interior areas affected by leaks.
They may also look for evidence of age-related deterioration or pre-existing conditions. A roof can have both storm damage and normal wear, which is why claims are not always as simple as a full replacement versus no payment. The result depends on the policy language, the documented damage, local building code requirements, and whether repairs can reasonably restore the system.
Ask respectful questions during or after the inspection. You may want to know which areas were included in the estimate, whether code-related items were considered, what depreciation was applied, and what documentation the carrier still needs. Request a copy of the adjuster's estimate when it becomes available and compare it line by line with the contractor's scope of work.
Differences between estimates do not automatically mean someone is wrong. Roofing estimates can vary because one scope may omit items such as flashing, ventilation, decking repairs, drip edge, gutter components, or code-required upgrades. A qualified contractor can help explain those differences and submit supporting documentation for legitimate supplements when additional covered work is needed.
Do Not Sign Away Control of Your Claim
After a major storm, homeowners may receive unsolicited offers from contractors, public adjusters, or people going door to door. Take your time. Verify licensing, insurance, local presence, manufacturer credentials, and written warranty information before signing any agreement.
Be cautious with contracts that promise to cover or waive your deductible. Your deductible is part of your insurance agreement, and misrepresenting it can create problems for everyone involved. Also avoid signing an assignment of benefits or broad authorization you do not fully understand. You should remain in control of repair decisions, claim communications, and the funds issued for your property.
A dependable contractor should explain the scope, materials, schedule, cleanup process, and warranty in plain language. They should also be willing to work from documented damage rather than pressure you into a replacement before the claim is understood.
Prepare the Property for a Safe Inspection
Small preparations can make the inspection more efficient. Move vehicles from the driveway and keep gates unlocked if the adjuster needs access to the backyard. Clear outdoor furniture, toys, and equipment away from damaged areas when practical. Secure pets and let the adjuster know about any access restrictions, such as a locked side gate or tenant-only commercial space.
Inside, make the areas beneath suspected leaks accessible. Move valuables away from wet ceilings or walls, but do not remove damaged materials before they are photographed unless they pose an immediate safety concern. If a ceiling is sagging, water is near electrical fixtures, or a leak is active, treat it as urgent and contact a qualified professional.
What Happens After the Adjuster Leaves
The inspection is not always the final word. Review the carrier's estimate carefully once you receive it. Look for the listed roof sections, quantities, materials, depreciation, deductible, and any exclusions. If your contractor found damage or required work that is missing from the scope, provide the supporting photos, measurements, and written explanation through the proper claim process.
Keep every communication in writing when possible, including claim emails, estimate revisions, receipts, and work authorizations. If coverage is approved, confirm the repair plan before materials are ordered. If the claim is denied or partially approved, read the explanation closely and ask what additional evidence or inspection findings would be needed for reconsideration.
For DFW homeowners and property managers, Reilly Roofing and Gutters can provide a no-cost inspection, detailed storm documentation, and support during the adjuster process. The goal is straightforward: help you understand the condition of your roof, protect your property, and move forward with workmanship you can trust.
A calm, well-documented adjuster appointment will not guarantee a particular claim outcome. It will give you a stronger starting point, a clearer record of the damage, and fewer unanswered questions when it is time to make decisions about your roof.